
Friday, March 21, 2014
Challenging construction

Copper wire vintage MOP buttons

I enjoy wearing it too....silky smooth vintage MOP buttons and the warm copper make a nice looking and nice feeling necklace.
Copper butterfly jewlery

I tried several beads before I decided these small glass pearl beads and copper spacer beads would work with my copper butterflies to make a necklace.
I threaded the pearls and spacer beads, then threaded the 7-strand beading wire through the body of the butterflies to connect them into the necklace.
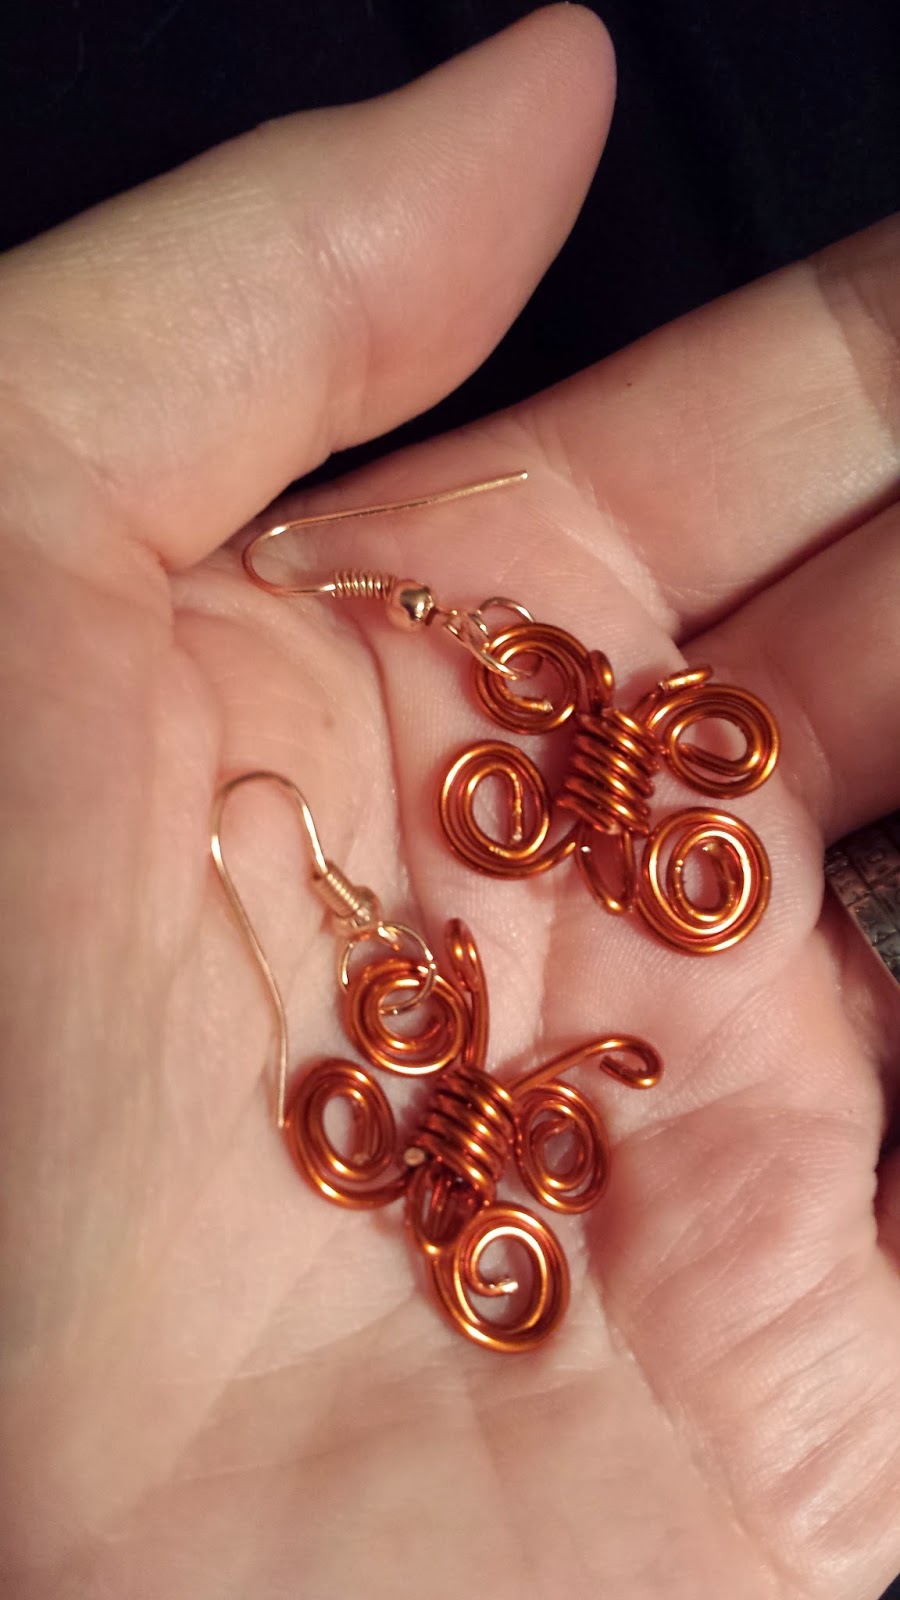
I made a couple little mini butterflies for earrings. Everytime I wear these, people think they are really original and cute.
Copper Butterflies

My husband, a manufacturing engineer by degree, found a solution to my plight of finding low-cost workable copper wire: At a shop that rewinds electrical motors! The copper wire was on huge roll..and about half the going retail prices. He's my hero!!!!
I saw some insects kind of like these in a magazine...and gave it a try to make my own.
This is my version of the copper insects: copper wire butterflies. (The wings "flap" too)
1) Make a coil of wire for the body
2) Take a long piece of copper wire and make a flat spiral (top wing)...run the remaining wire through the body coil...and make another flat spiral (bottom wing) with rest of wire. Repeat to make a set of wings for the other side.
3) Bend a piece of wire in half...push it down through the body coil. Bend the remaining wire into flat spirals to make antennae. This piece acts as a pin to hold it all together. You may need to bend this part around a bit to keep it from pulling out.
* Stunning necklace or art piece?

The original version of this was "crooked". I had used mismatched buttons and so some of button pendants hung at different lengths...It killed me to start over, but I did.
To make each button pendant/chain, I folded a long piece of beading wire in half, strung on the botton pearl and agate stone to the middle of the wire. Then I crossed the wires though the buttons twice and repeated: Twist the wire, string another pearl/stone/button etc. I had to be careful. If I twisted the wire too much or too hard...it would break. And it did. I had to do two of the button pendants over because the wire broke.
When the pendants were done, I then had to change neck chains twice because they weren't strong enough to support the pendants.
This necklace is almost too daring. I imagine a tall beautiful leggy woman with a long neck wearing this..a Hollywood starlet or someone wanting to
make sure everyone noticed her. Or not.
It's my weird imagination that created this necklace....
.I can imagine the person who might wear it as well!! LOL LOL LOL


Pony beads to the rescue

 I found some large-hole, clear acrylic, pony beads that I could bead this vintage lace with!! Then I added a focal piece by making a shiny checker-board faceted, vintage black onyx button. Using the pony beads allowed me to make a different kind of necklace with a fragile piece of vintage lace
Beaded vintage lace

Voila! a pretty, delicate, re-purposed vintage lace necklace.
Subscribe to:
Posts (Atom)